
Quickstart
This walkthrough takes you from an empty project to a running web service with a public HTTPS URL — using the console, with the equivalent CLI commands alongside.
Before you start#
You need a Deploys.app account that belongs to a billing account,
and a container image to run. This guide uses the public nginx:1.27 image so you
don’t need to build anything.
deploys CLI equivalent. Install it
first — see the CLI guide — then authenticate with a
service-account key.Deploy your first service#
- Create a project
A project is the workspace your deployment lives in. In the console, open the project switcher and choose Create project, then give it an ID like
acme.console.deploys.app/project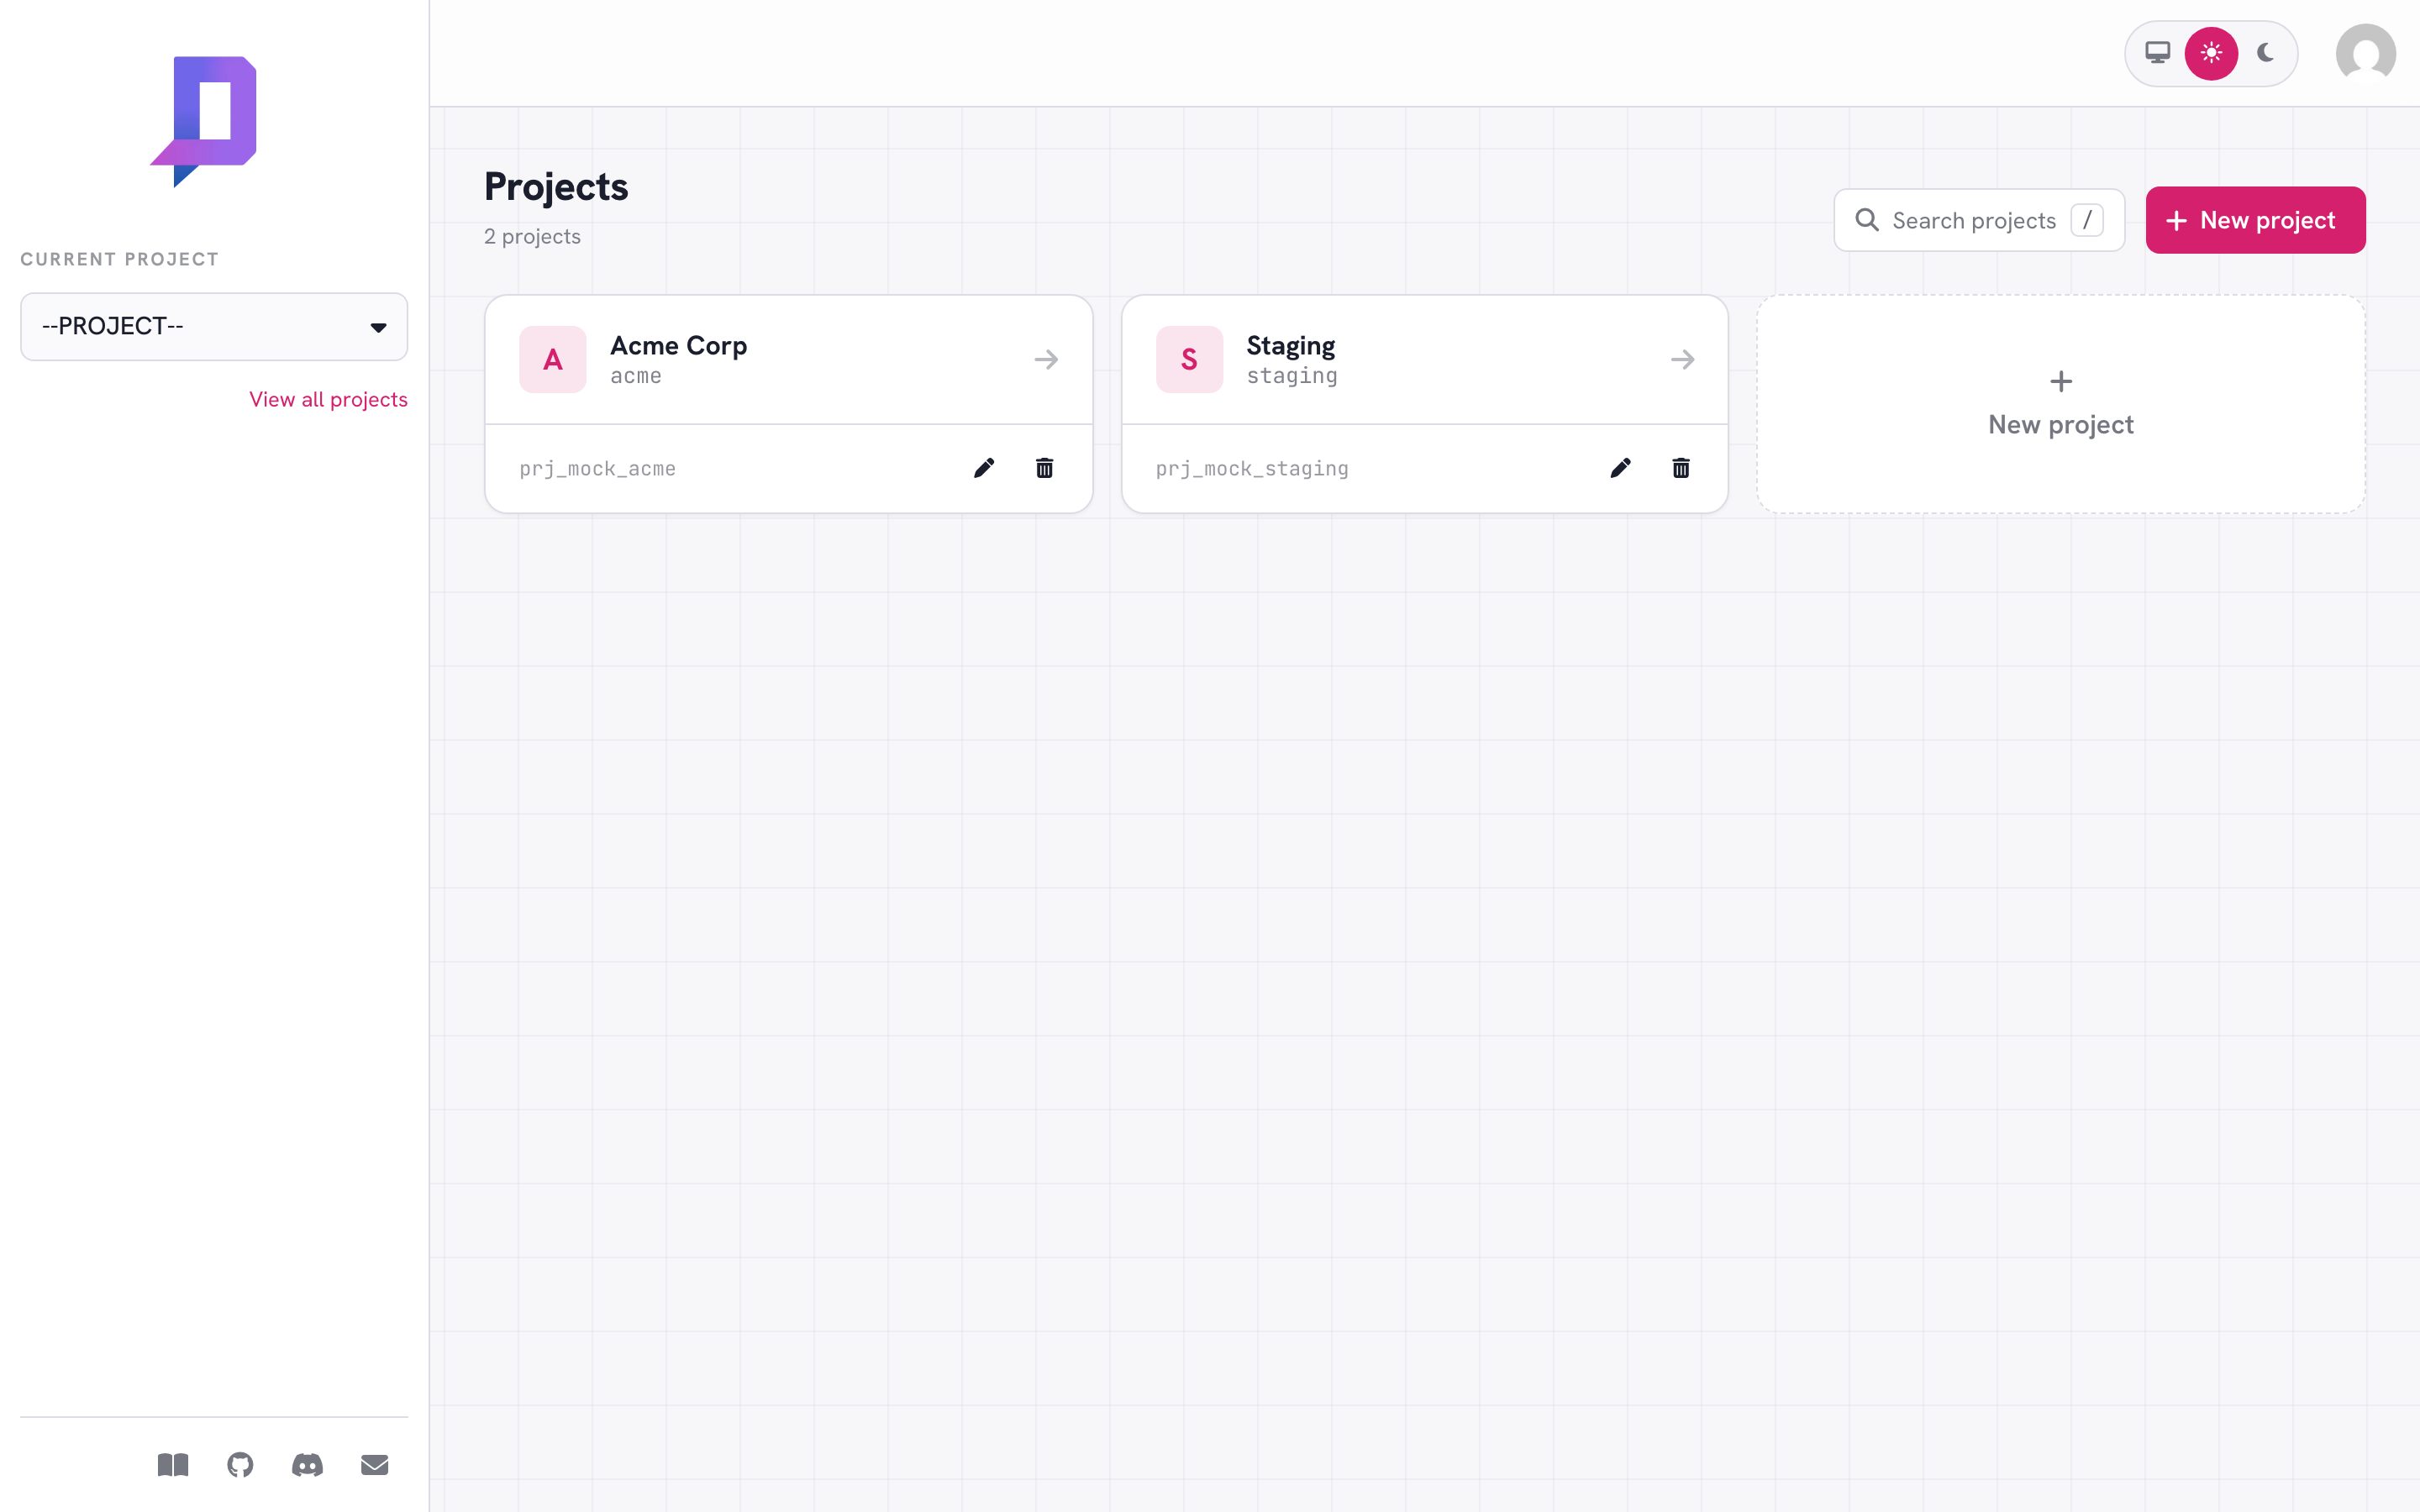
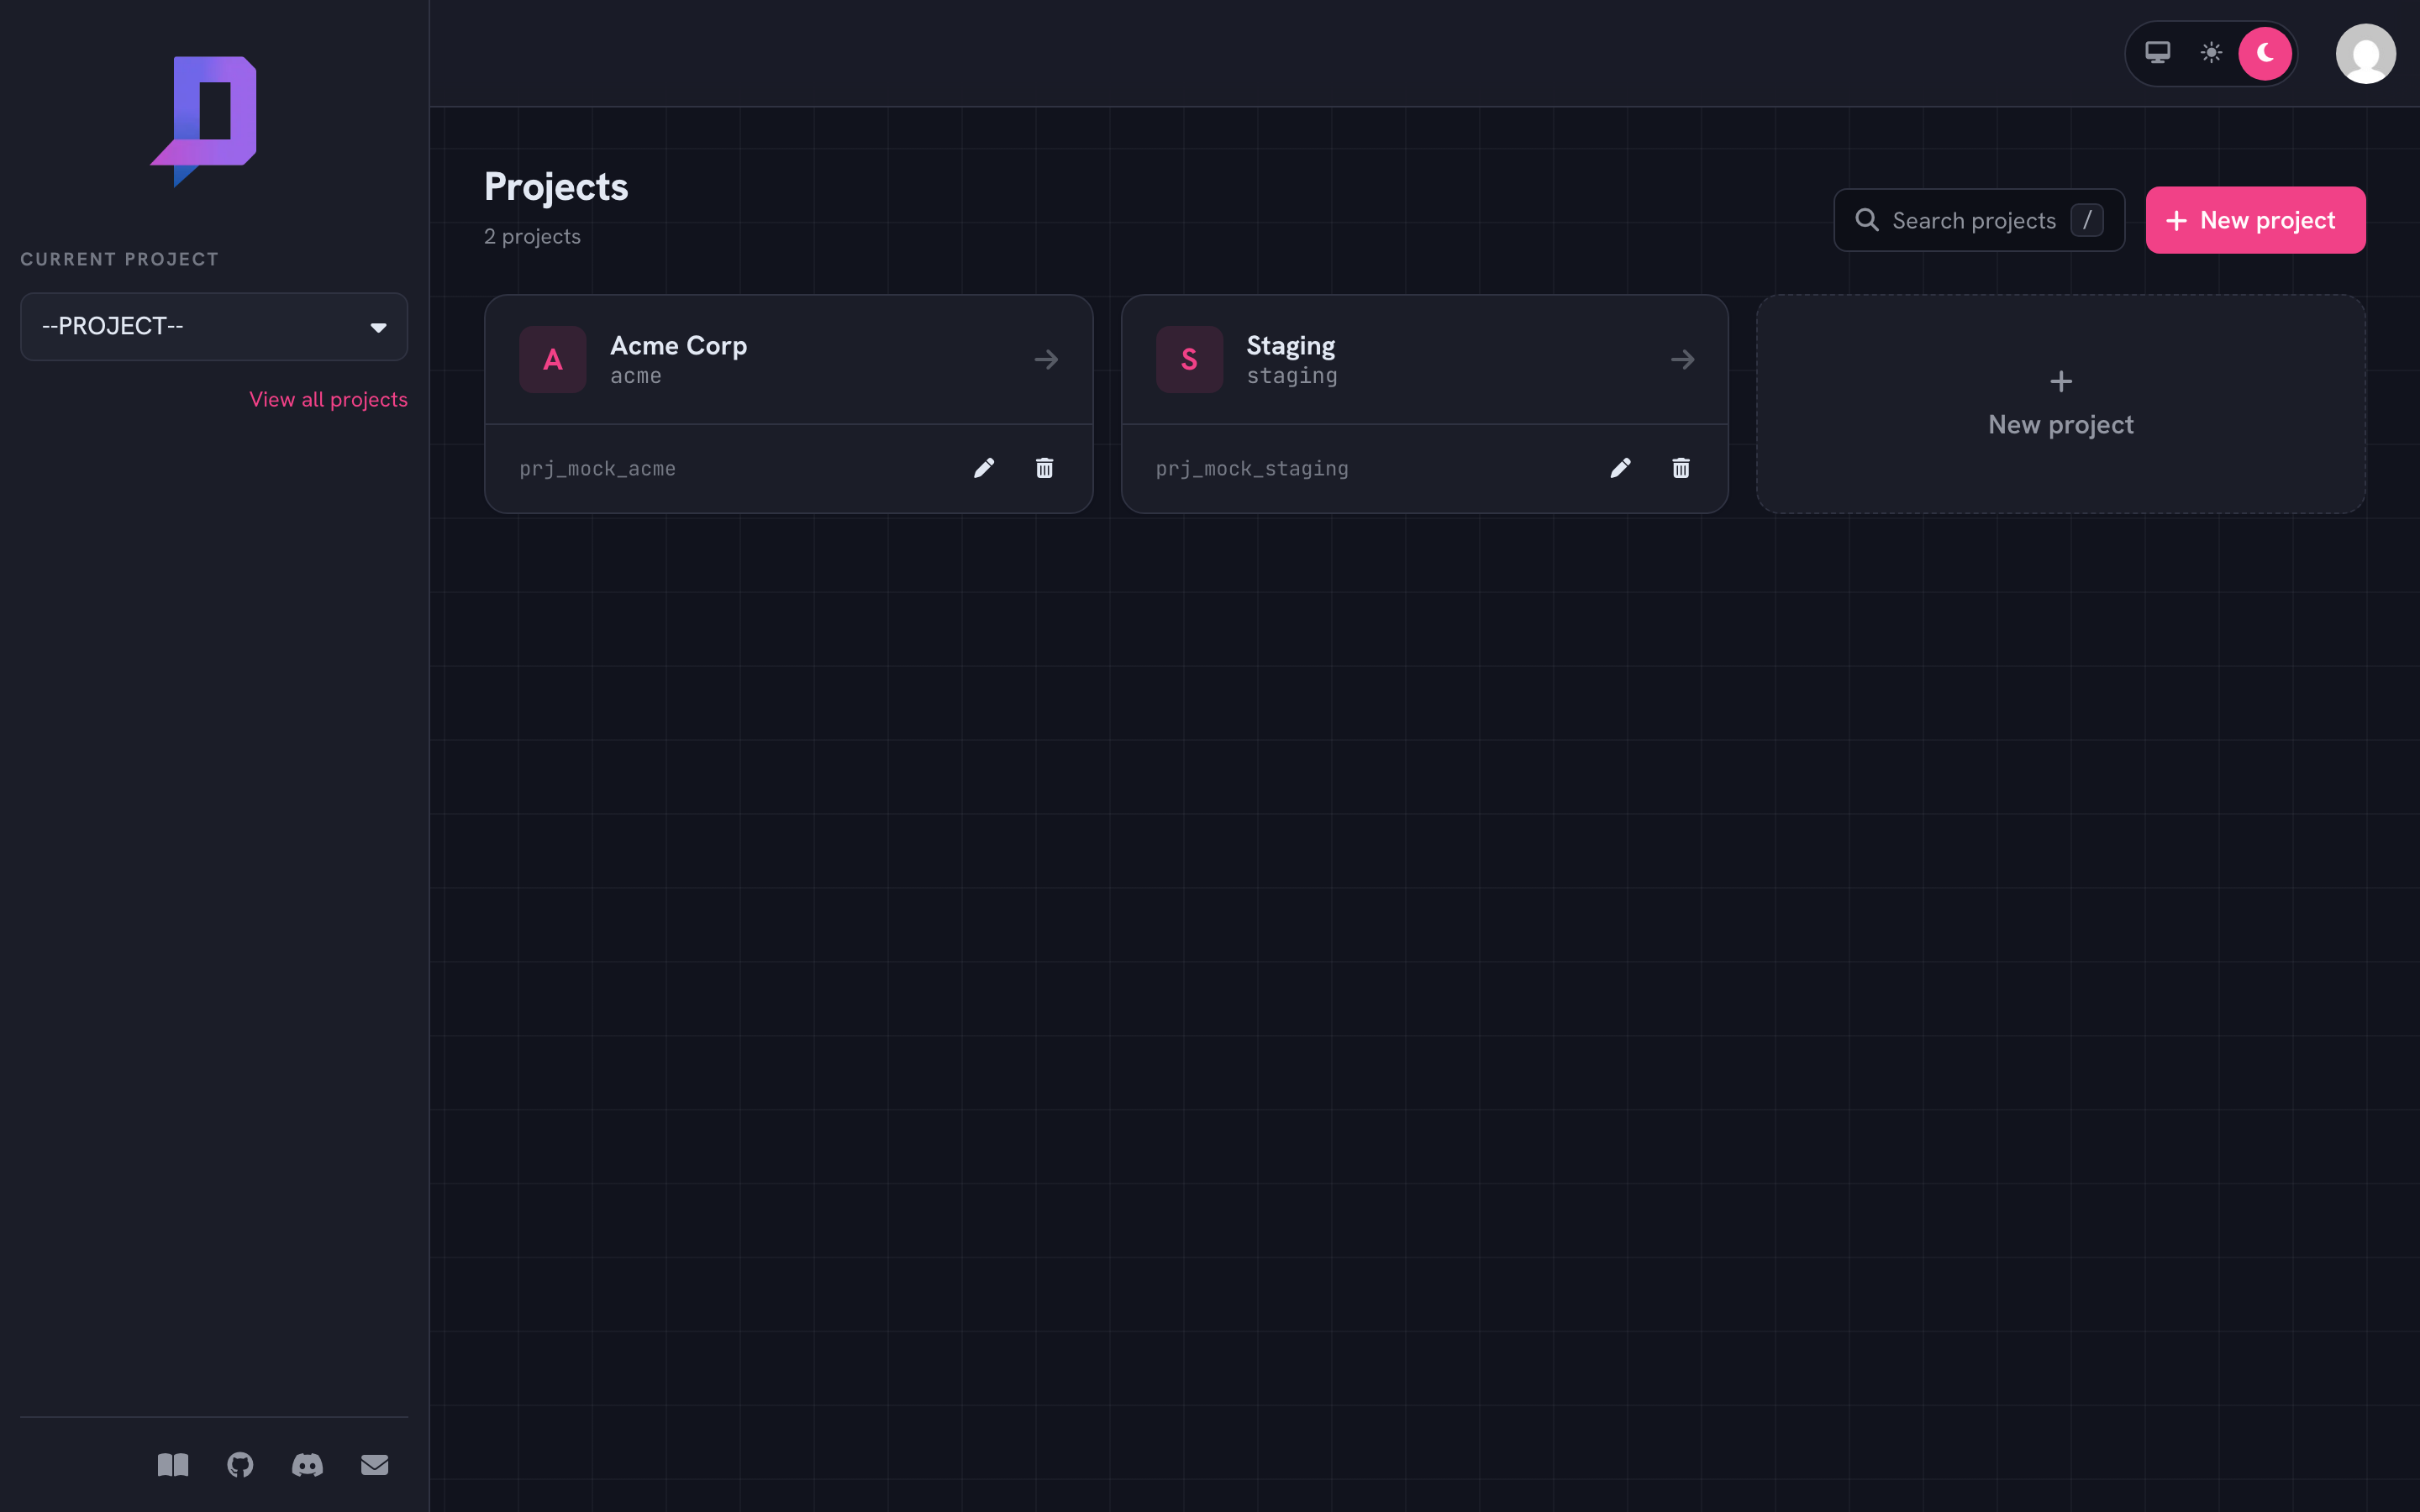
A project groups every deployment, domain, disk, and registry you create. With the CLI:
deploys project create --id acme --name "Acme Corp" --billingAccount ba_xxx - Pick a location
A location is the cluster your workload runs in. List what’s available — the location’s domain suffix becomes part of your public hostname.
deploys location list - Deploy a web service
In the console, open Deployments → Deploy and fill in the image, port, and resources. The defaults (a small CPU/memory request, autoscaling from 1 replica) are fine for a first run.
console.deploys.app/deployment/deploy?project=acme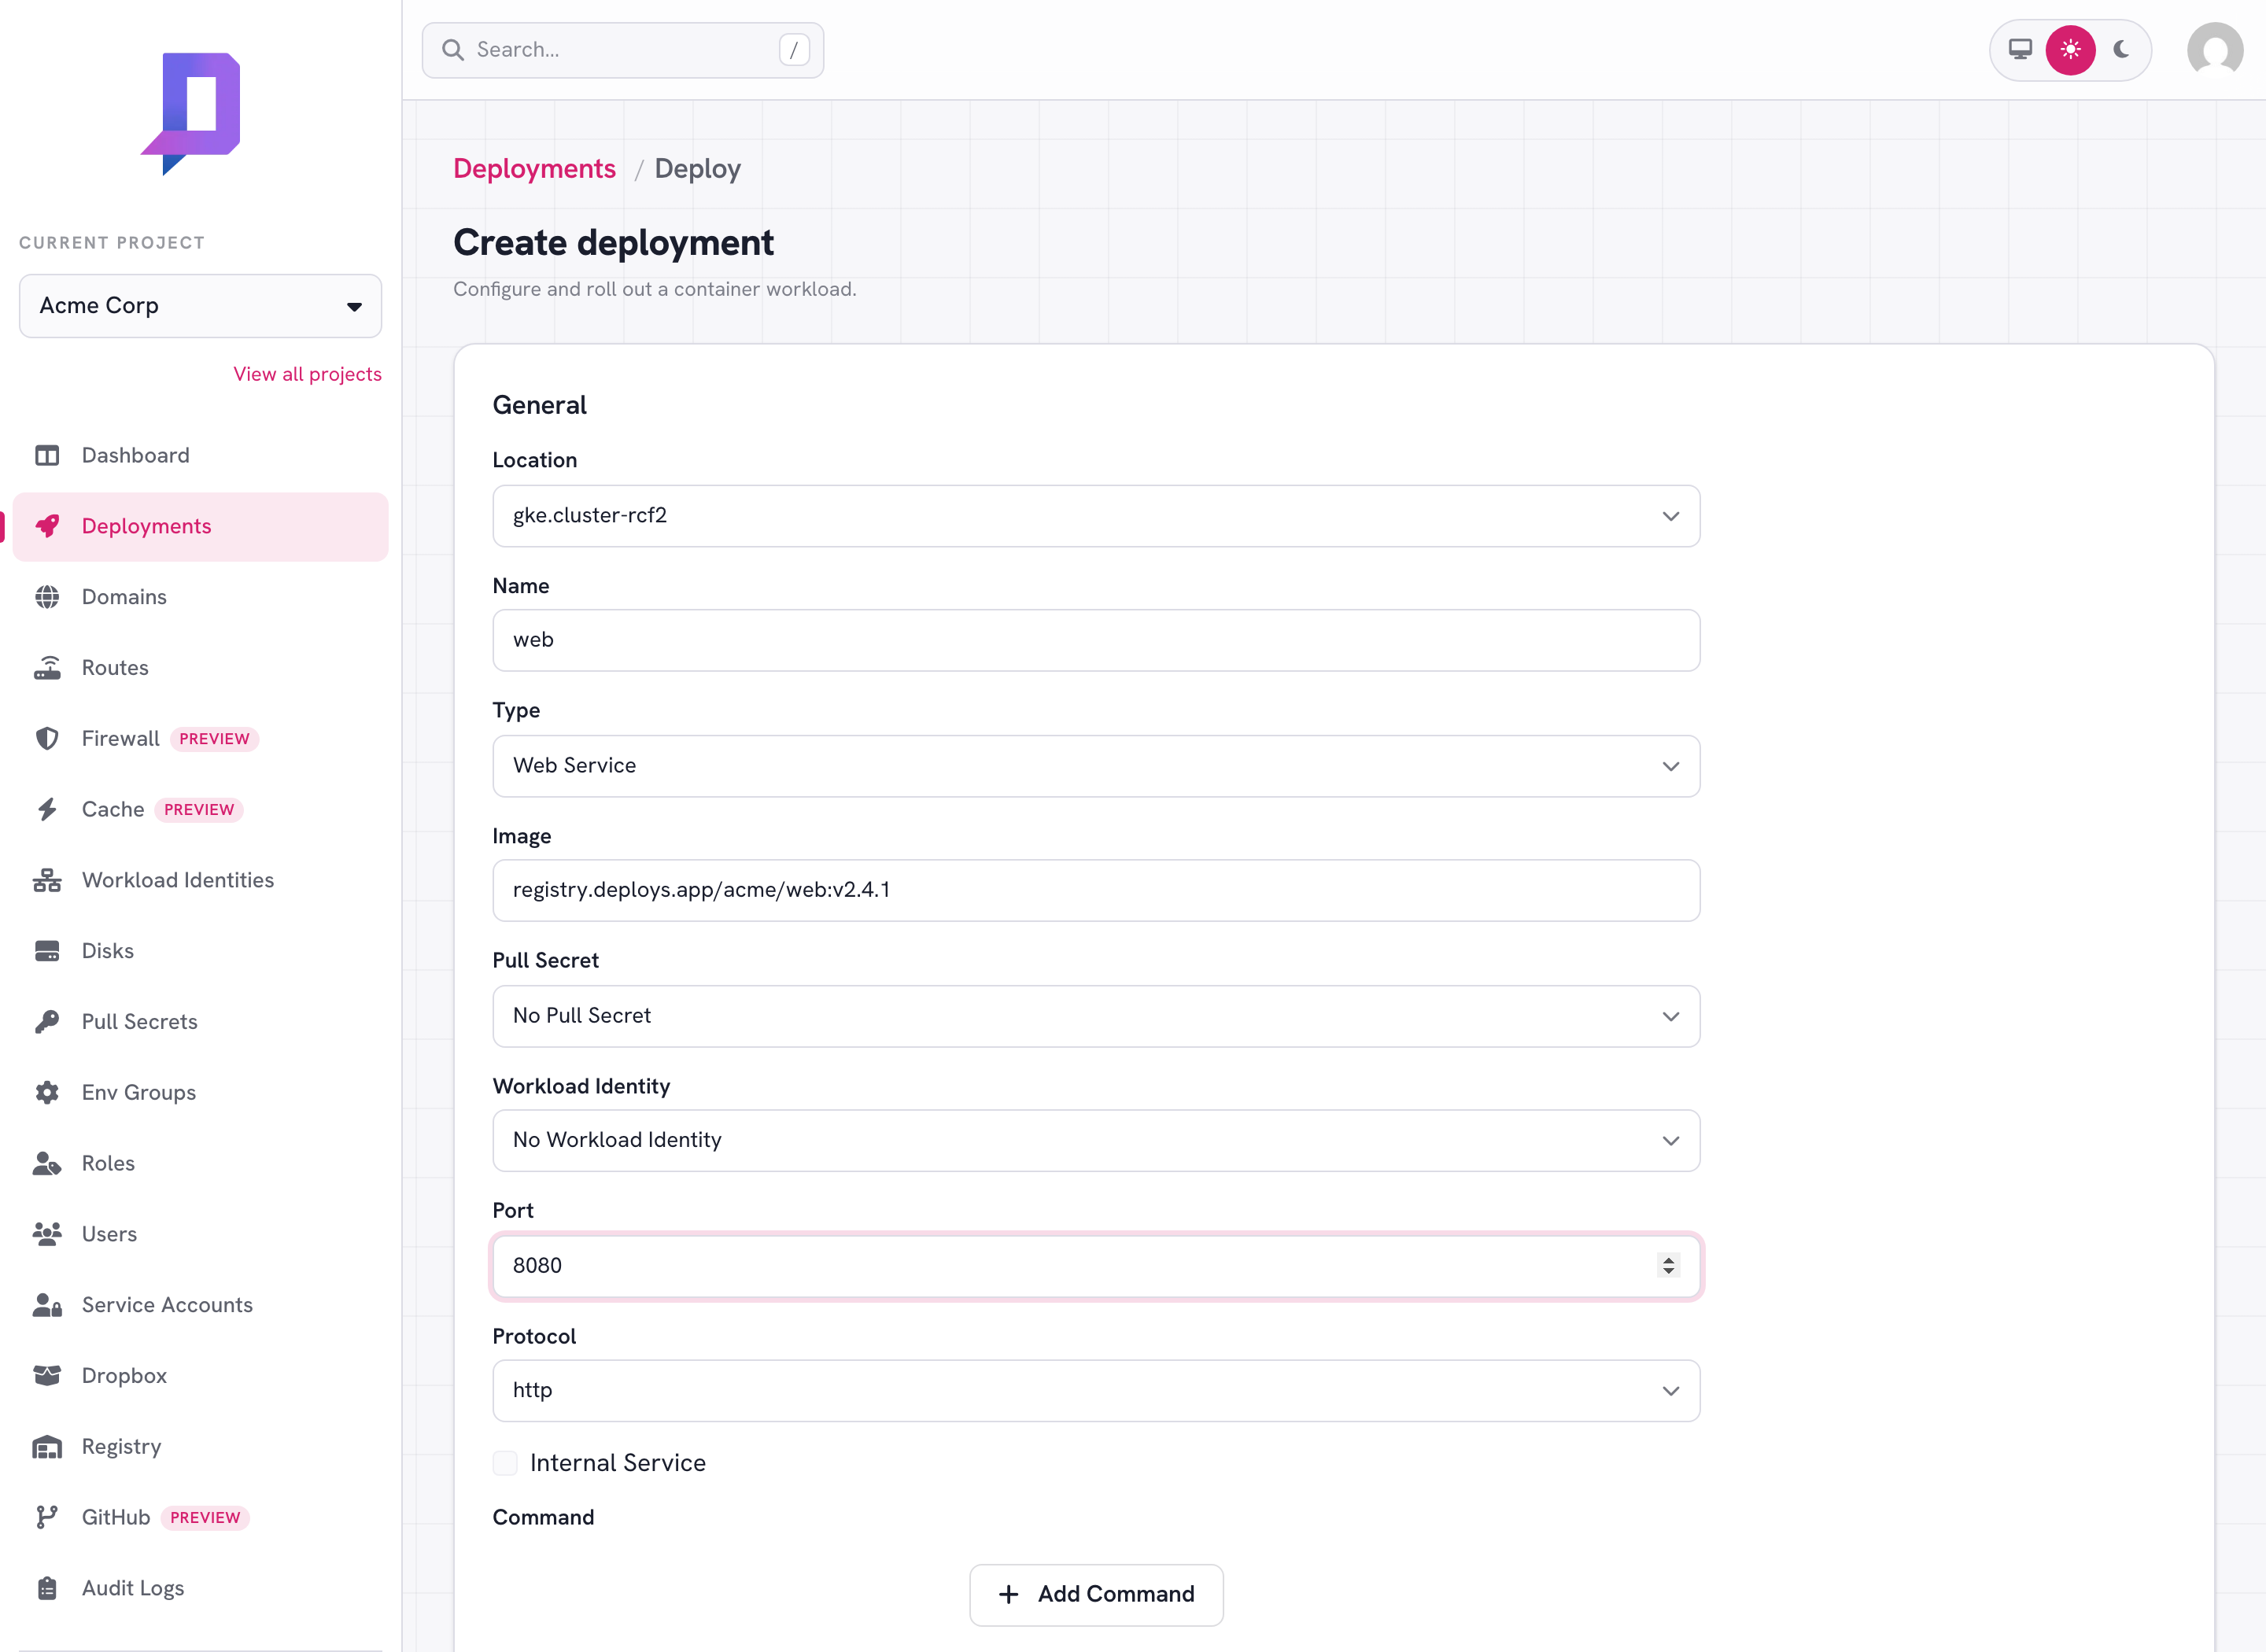
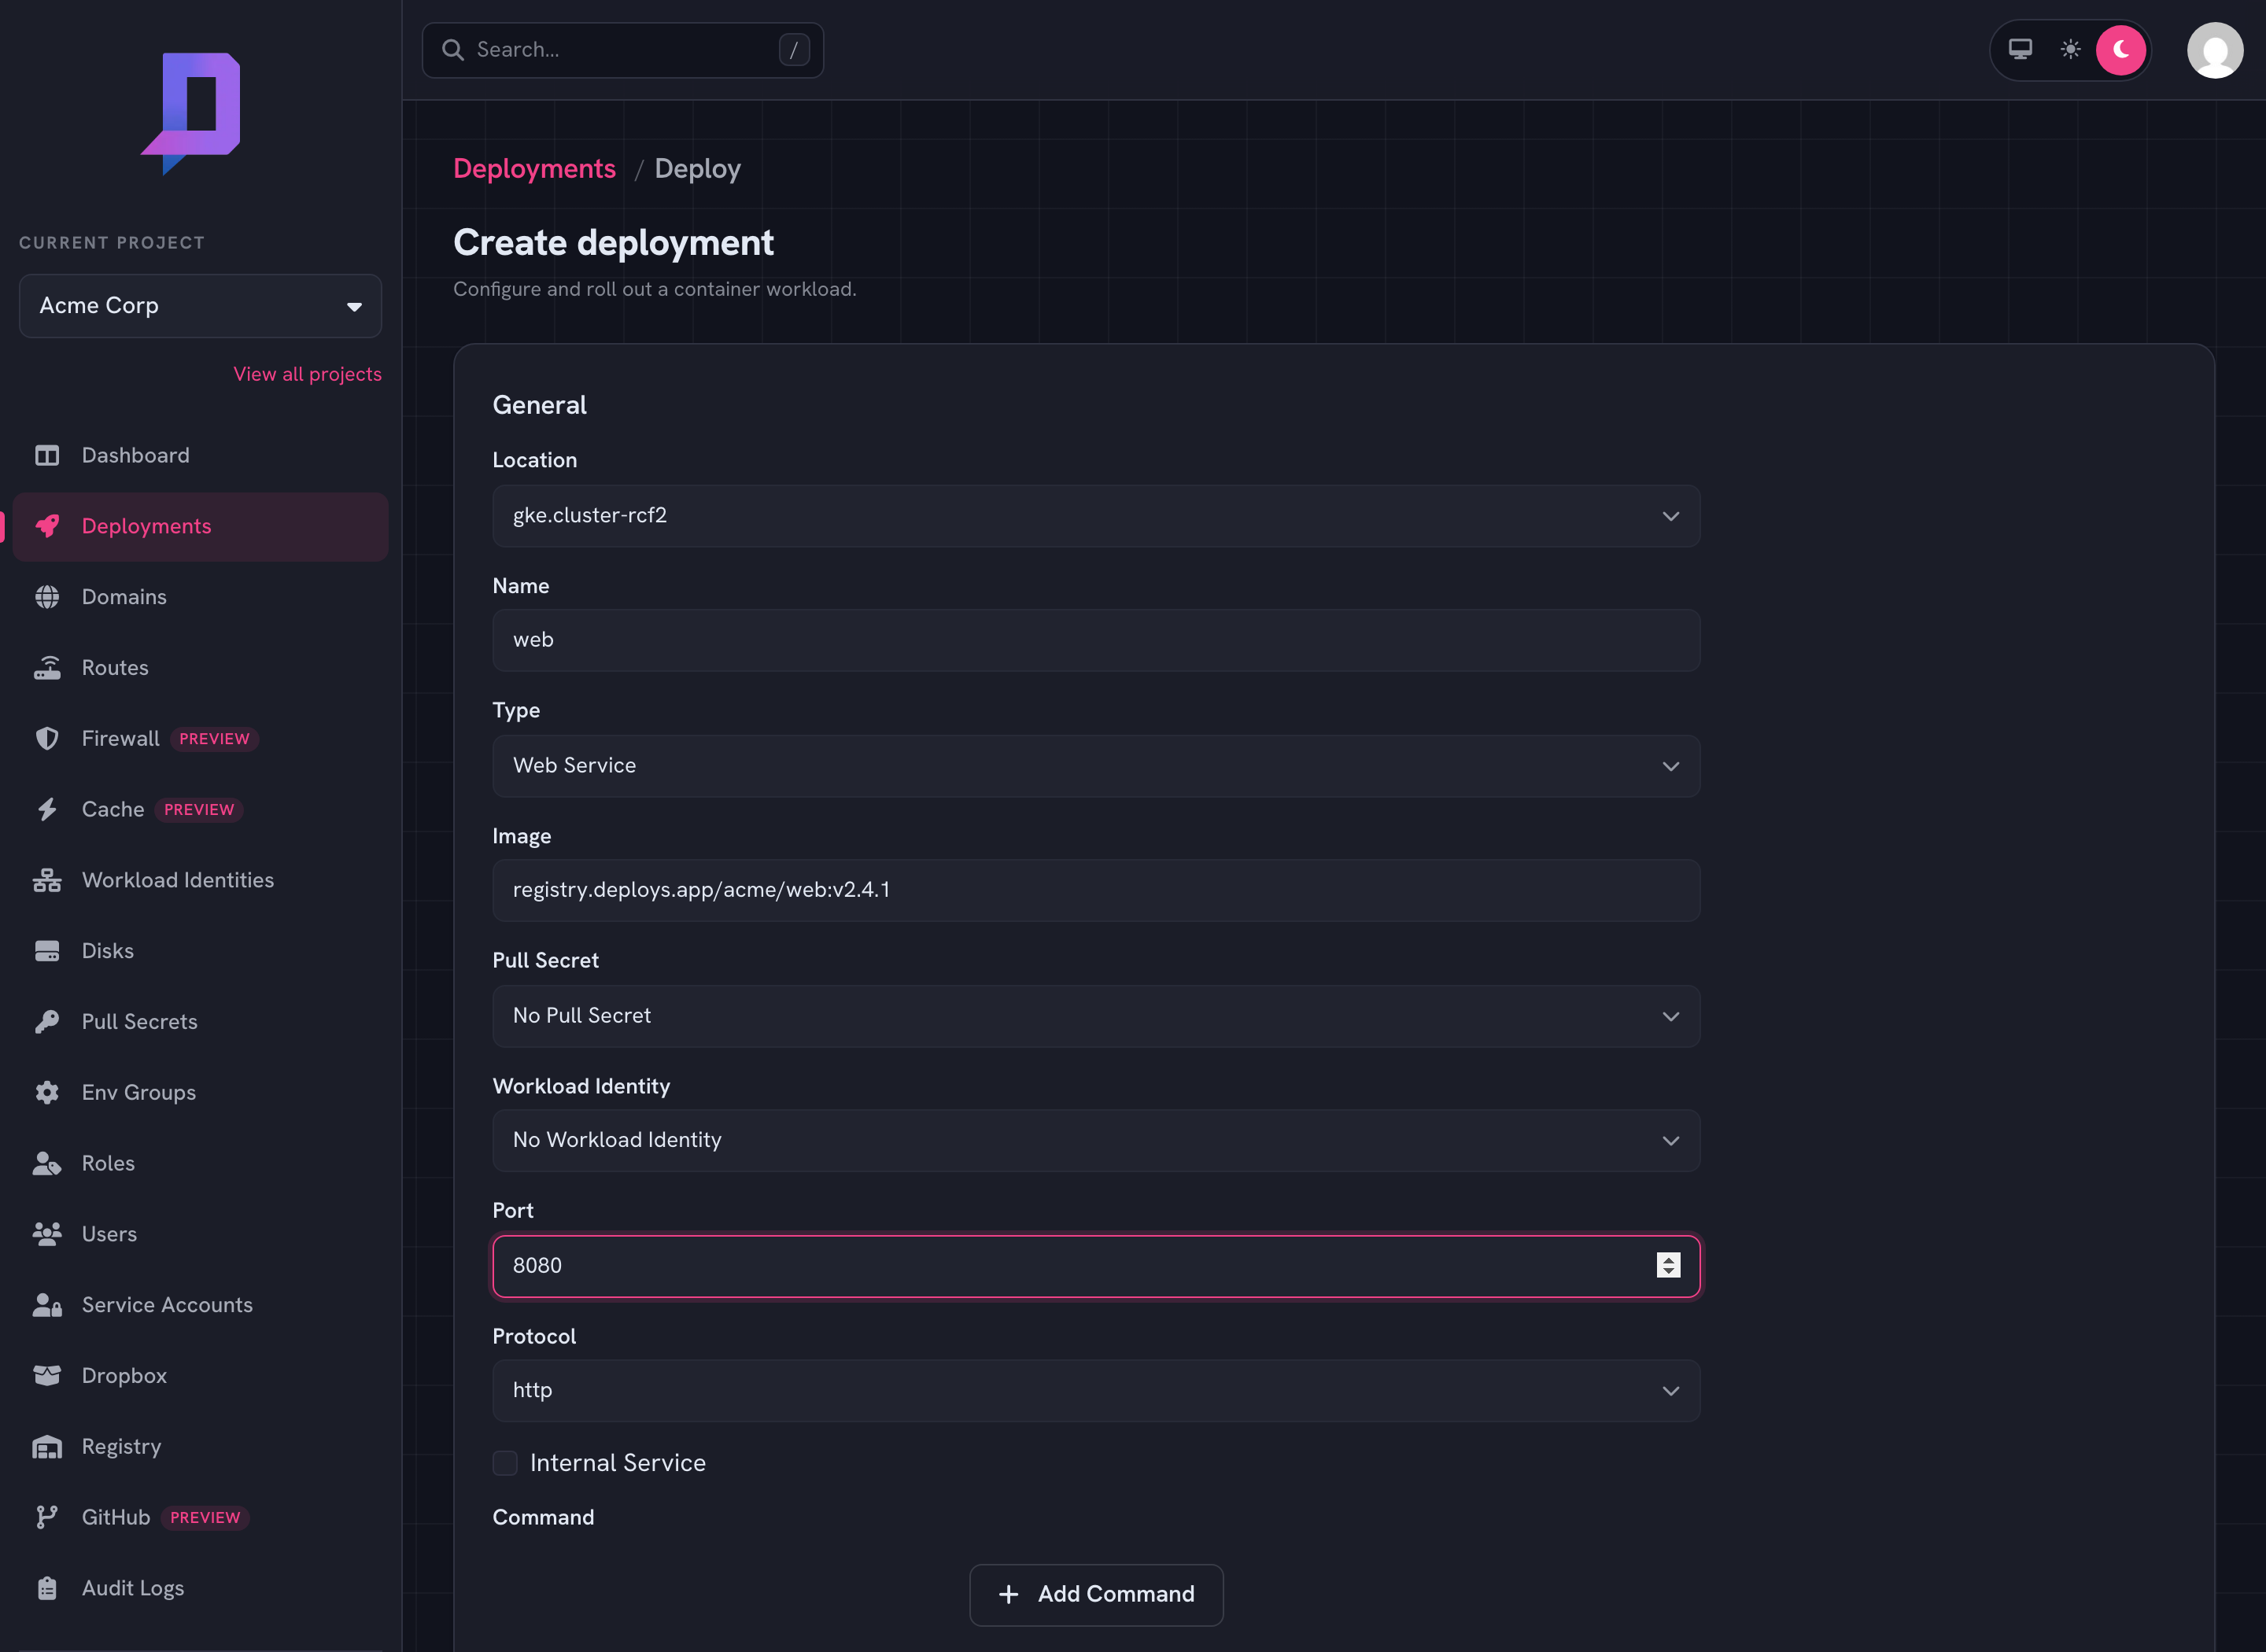
The deploy form: image, type, port, resources, and environment in one place. The equivalent command:
bashdeploys deployment deploy \ --project acme --location gke.cluster-rcf2 \ --name web --image nginx:1.27 \ --type WebService --port 80 \ --minReplicas 1 --maxReplicas 3 - Watch it go live
The deployment list shows rollout status as the new revision becomes healthy. Once the status icon turns green, your service is reachable at its managed hostname over HTTPS.
console.deploys.app/deployment?project=acme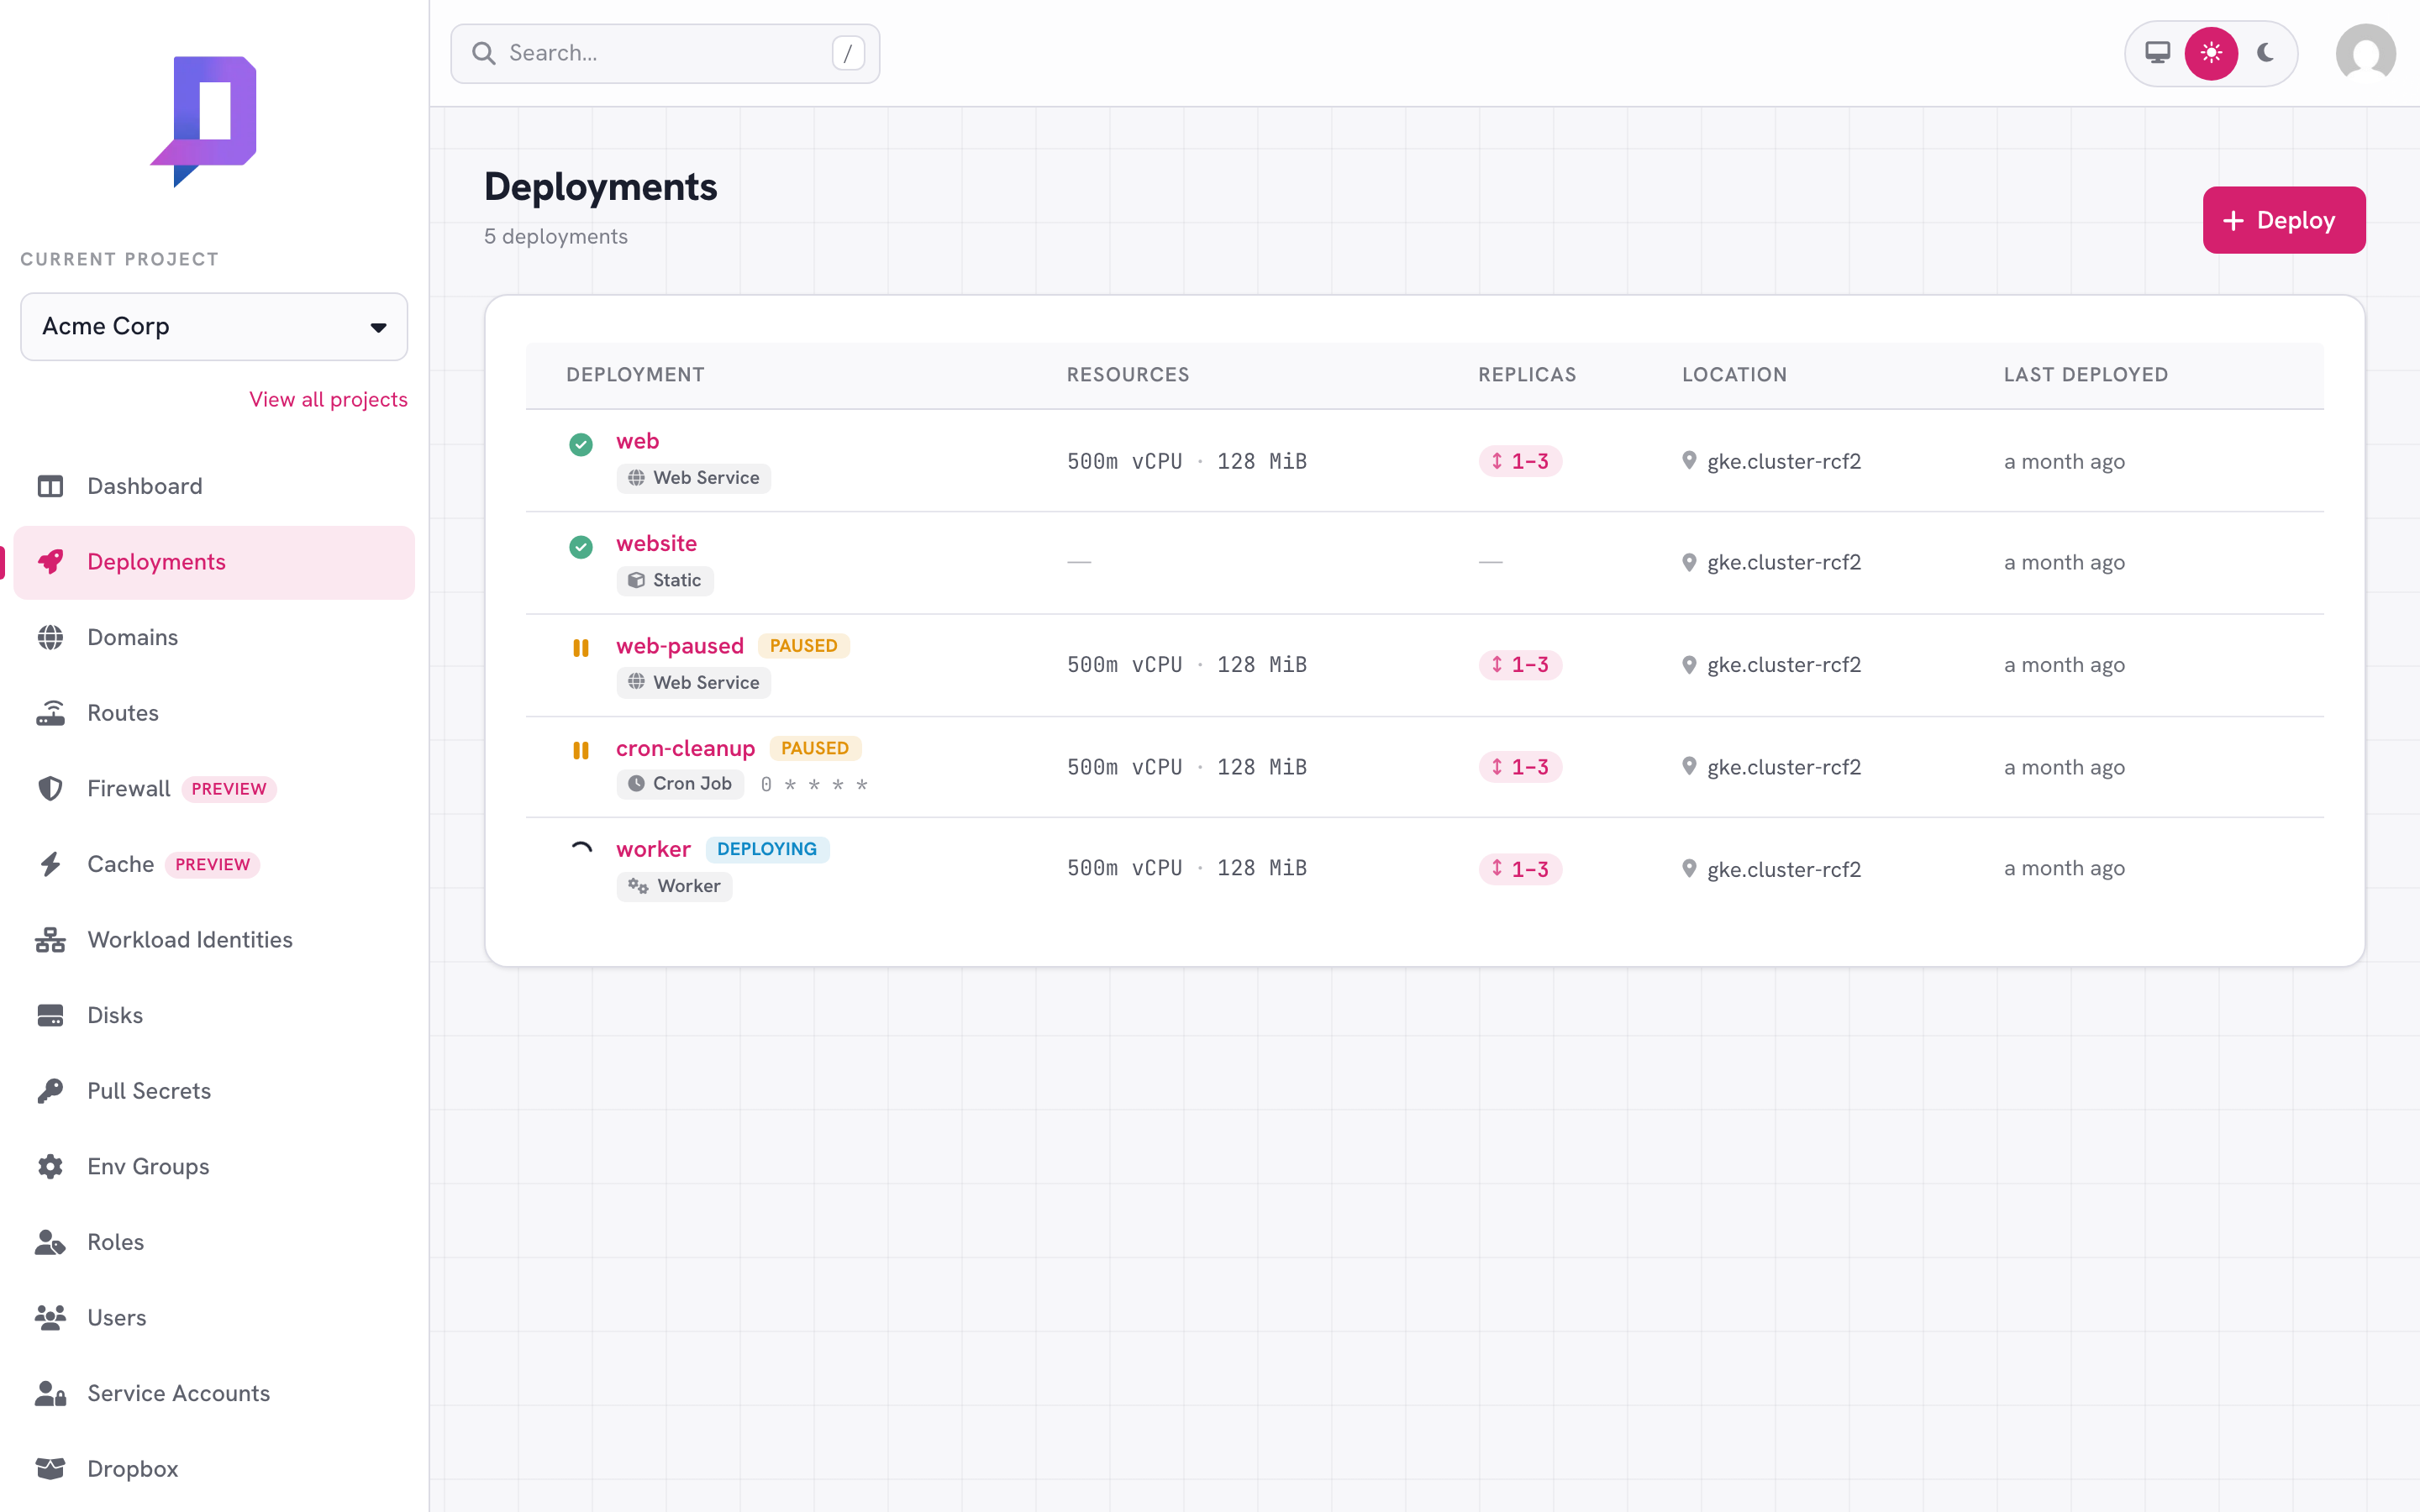
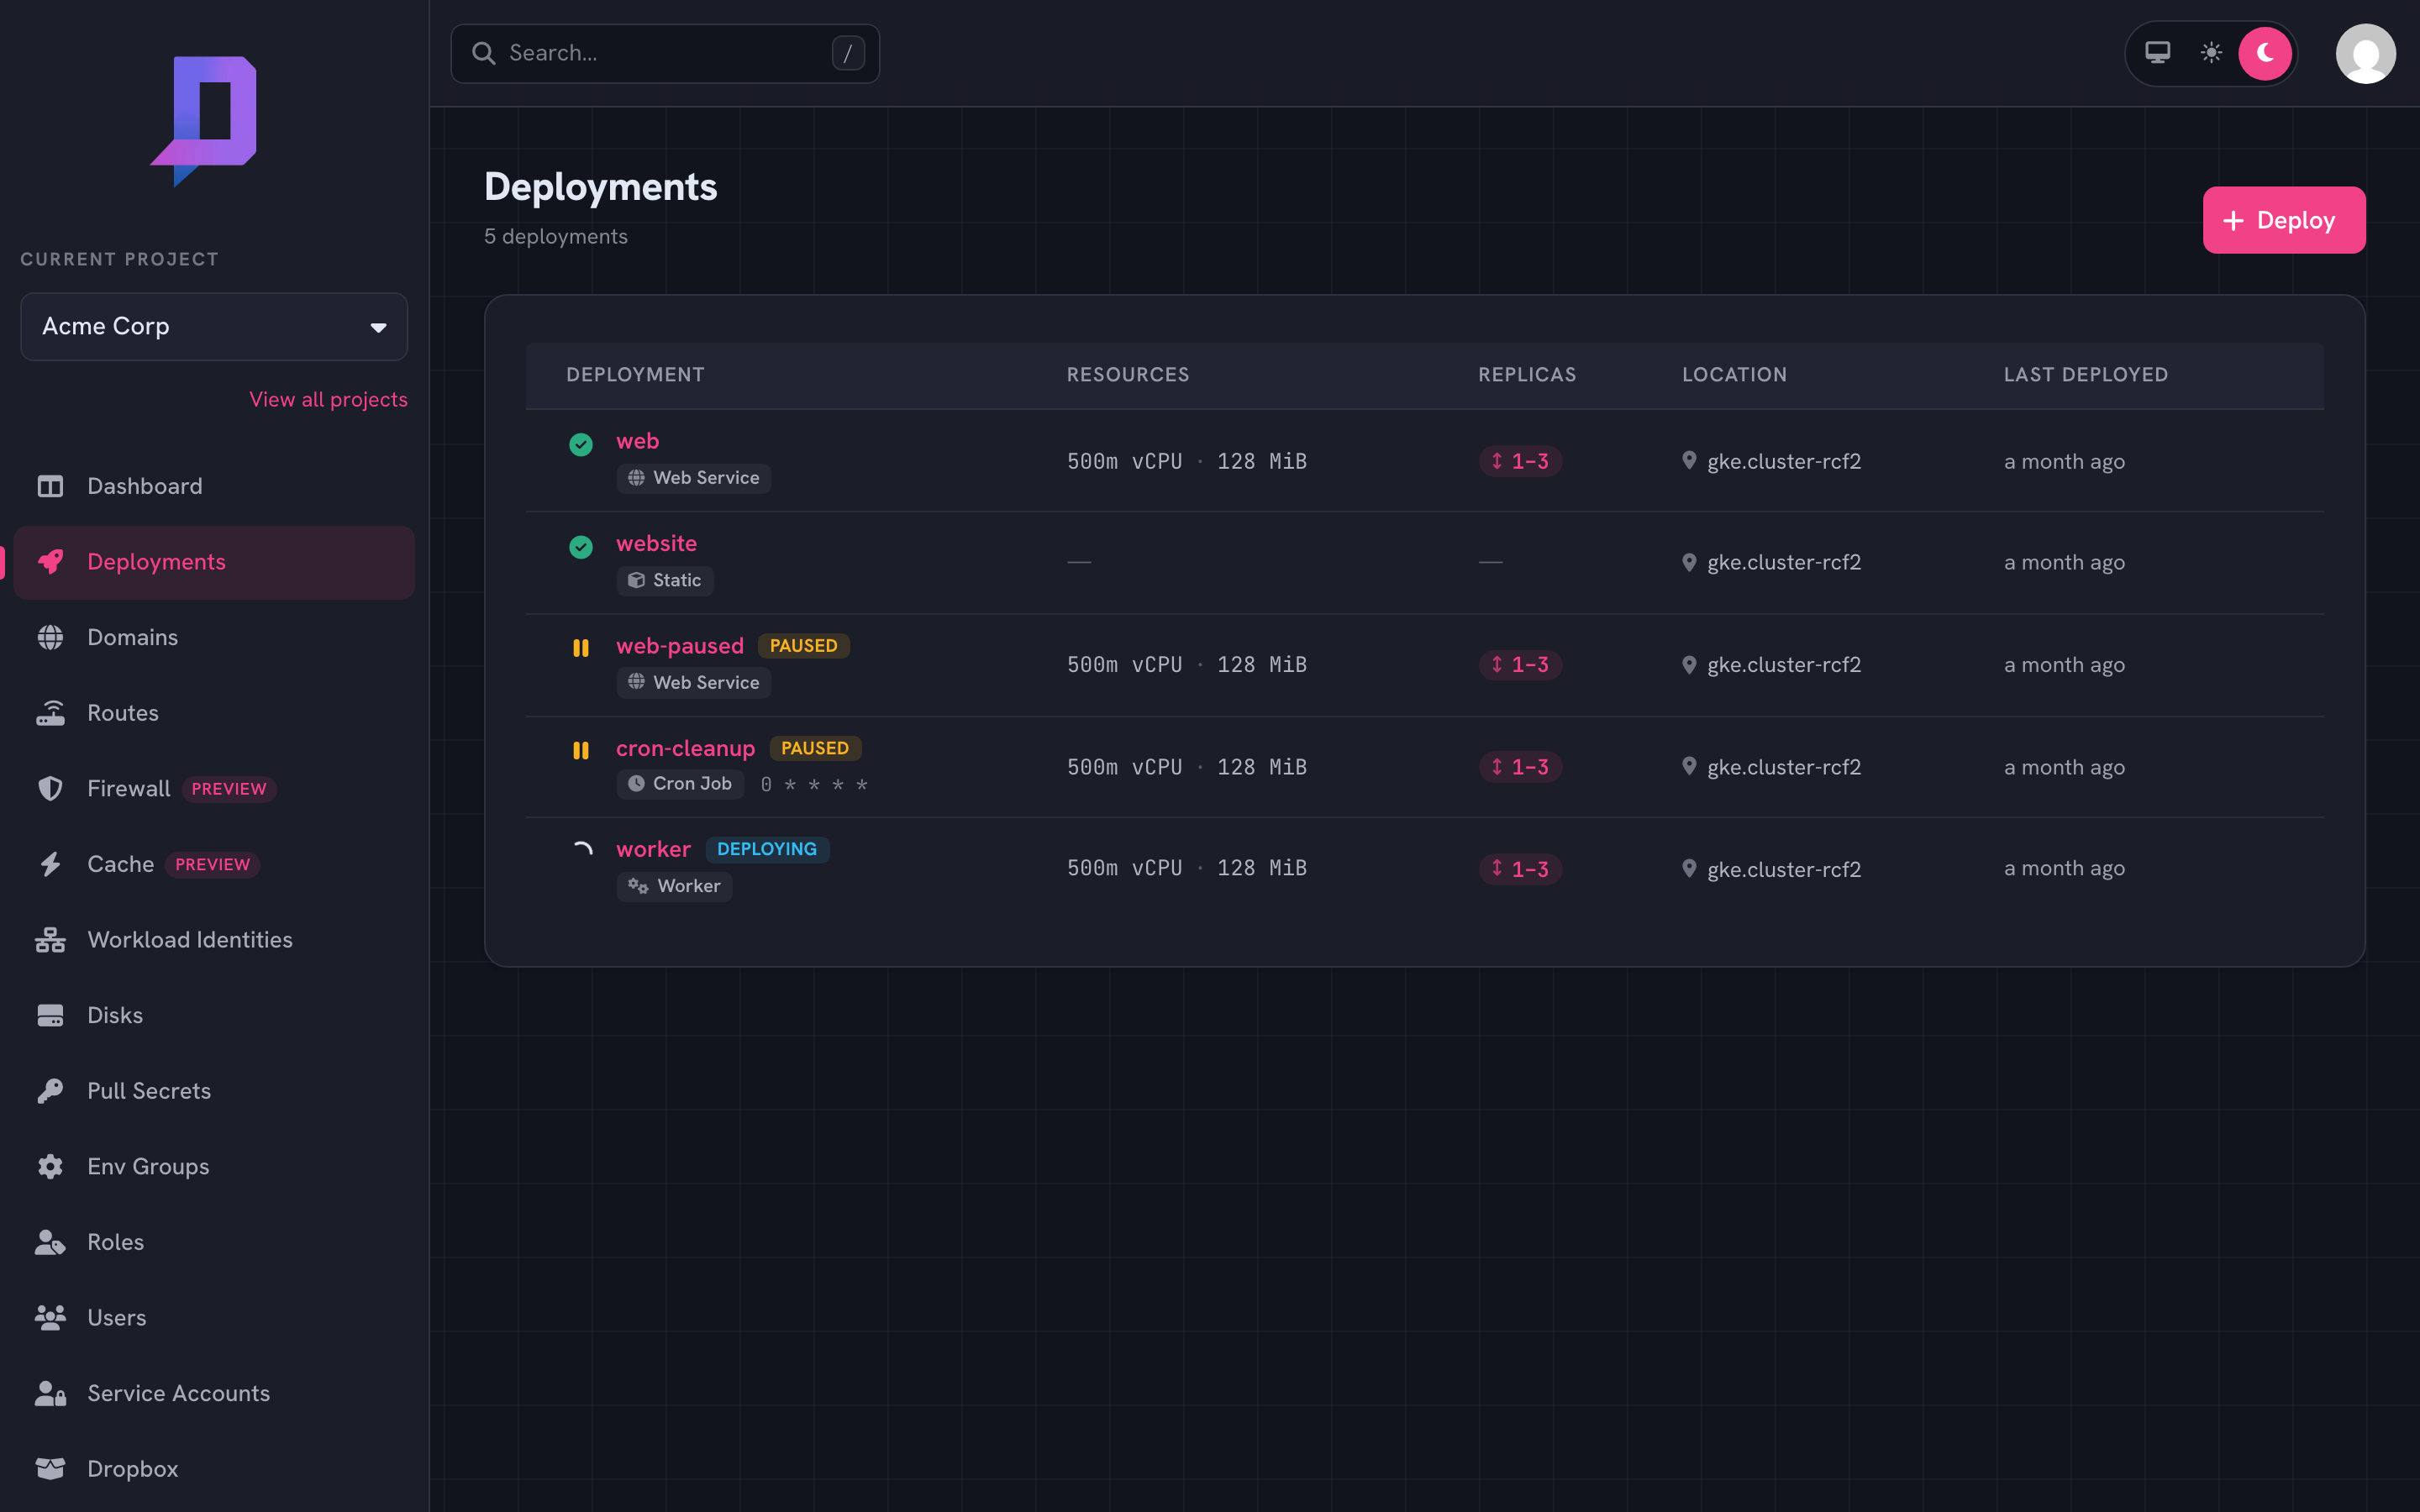
The deployment list — status, type, location, replicas, and the public URL at a glance. - Open the deployment
Click into the deployment for the detail view: configuration, live logs, metrics, Kubernetes events, and the revision history you can roll back to.
console.deploys.app/deployment/detail?project=acme&location=gke.cluster-rcf2&name=web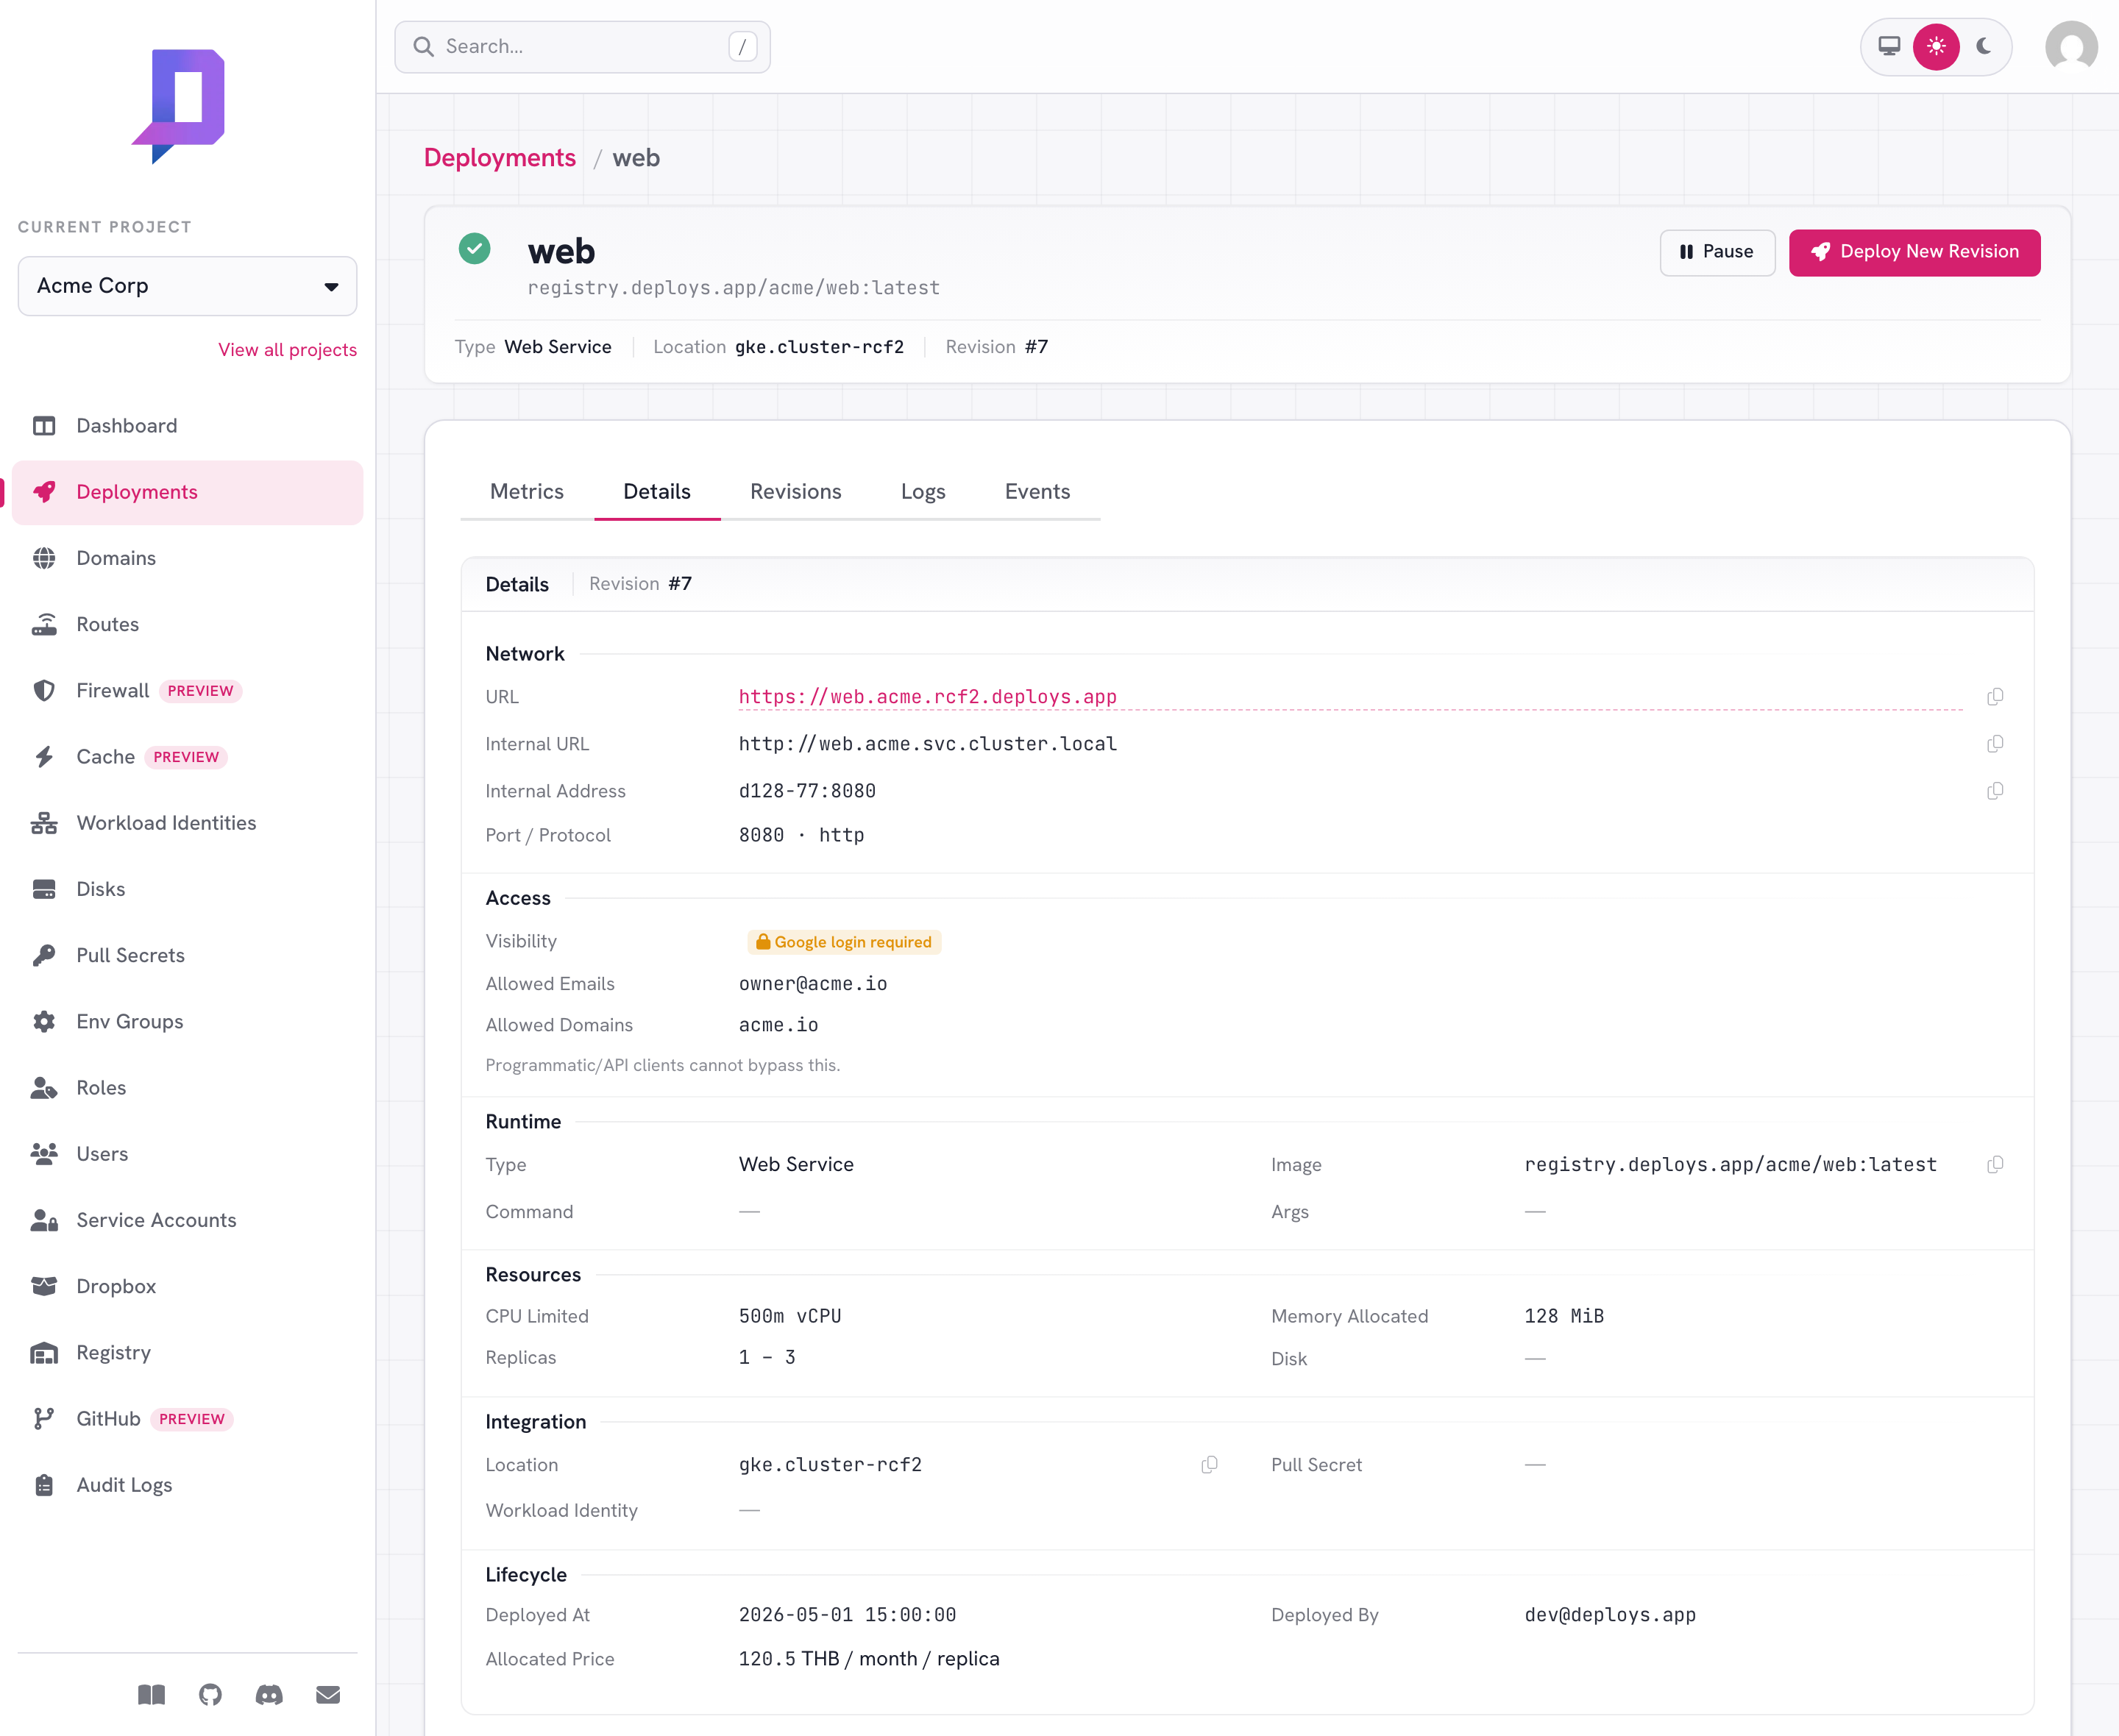
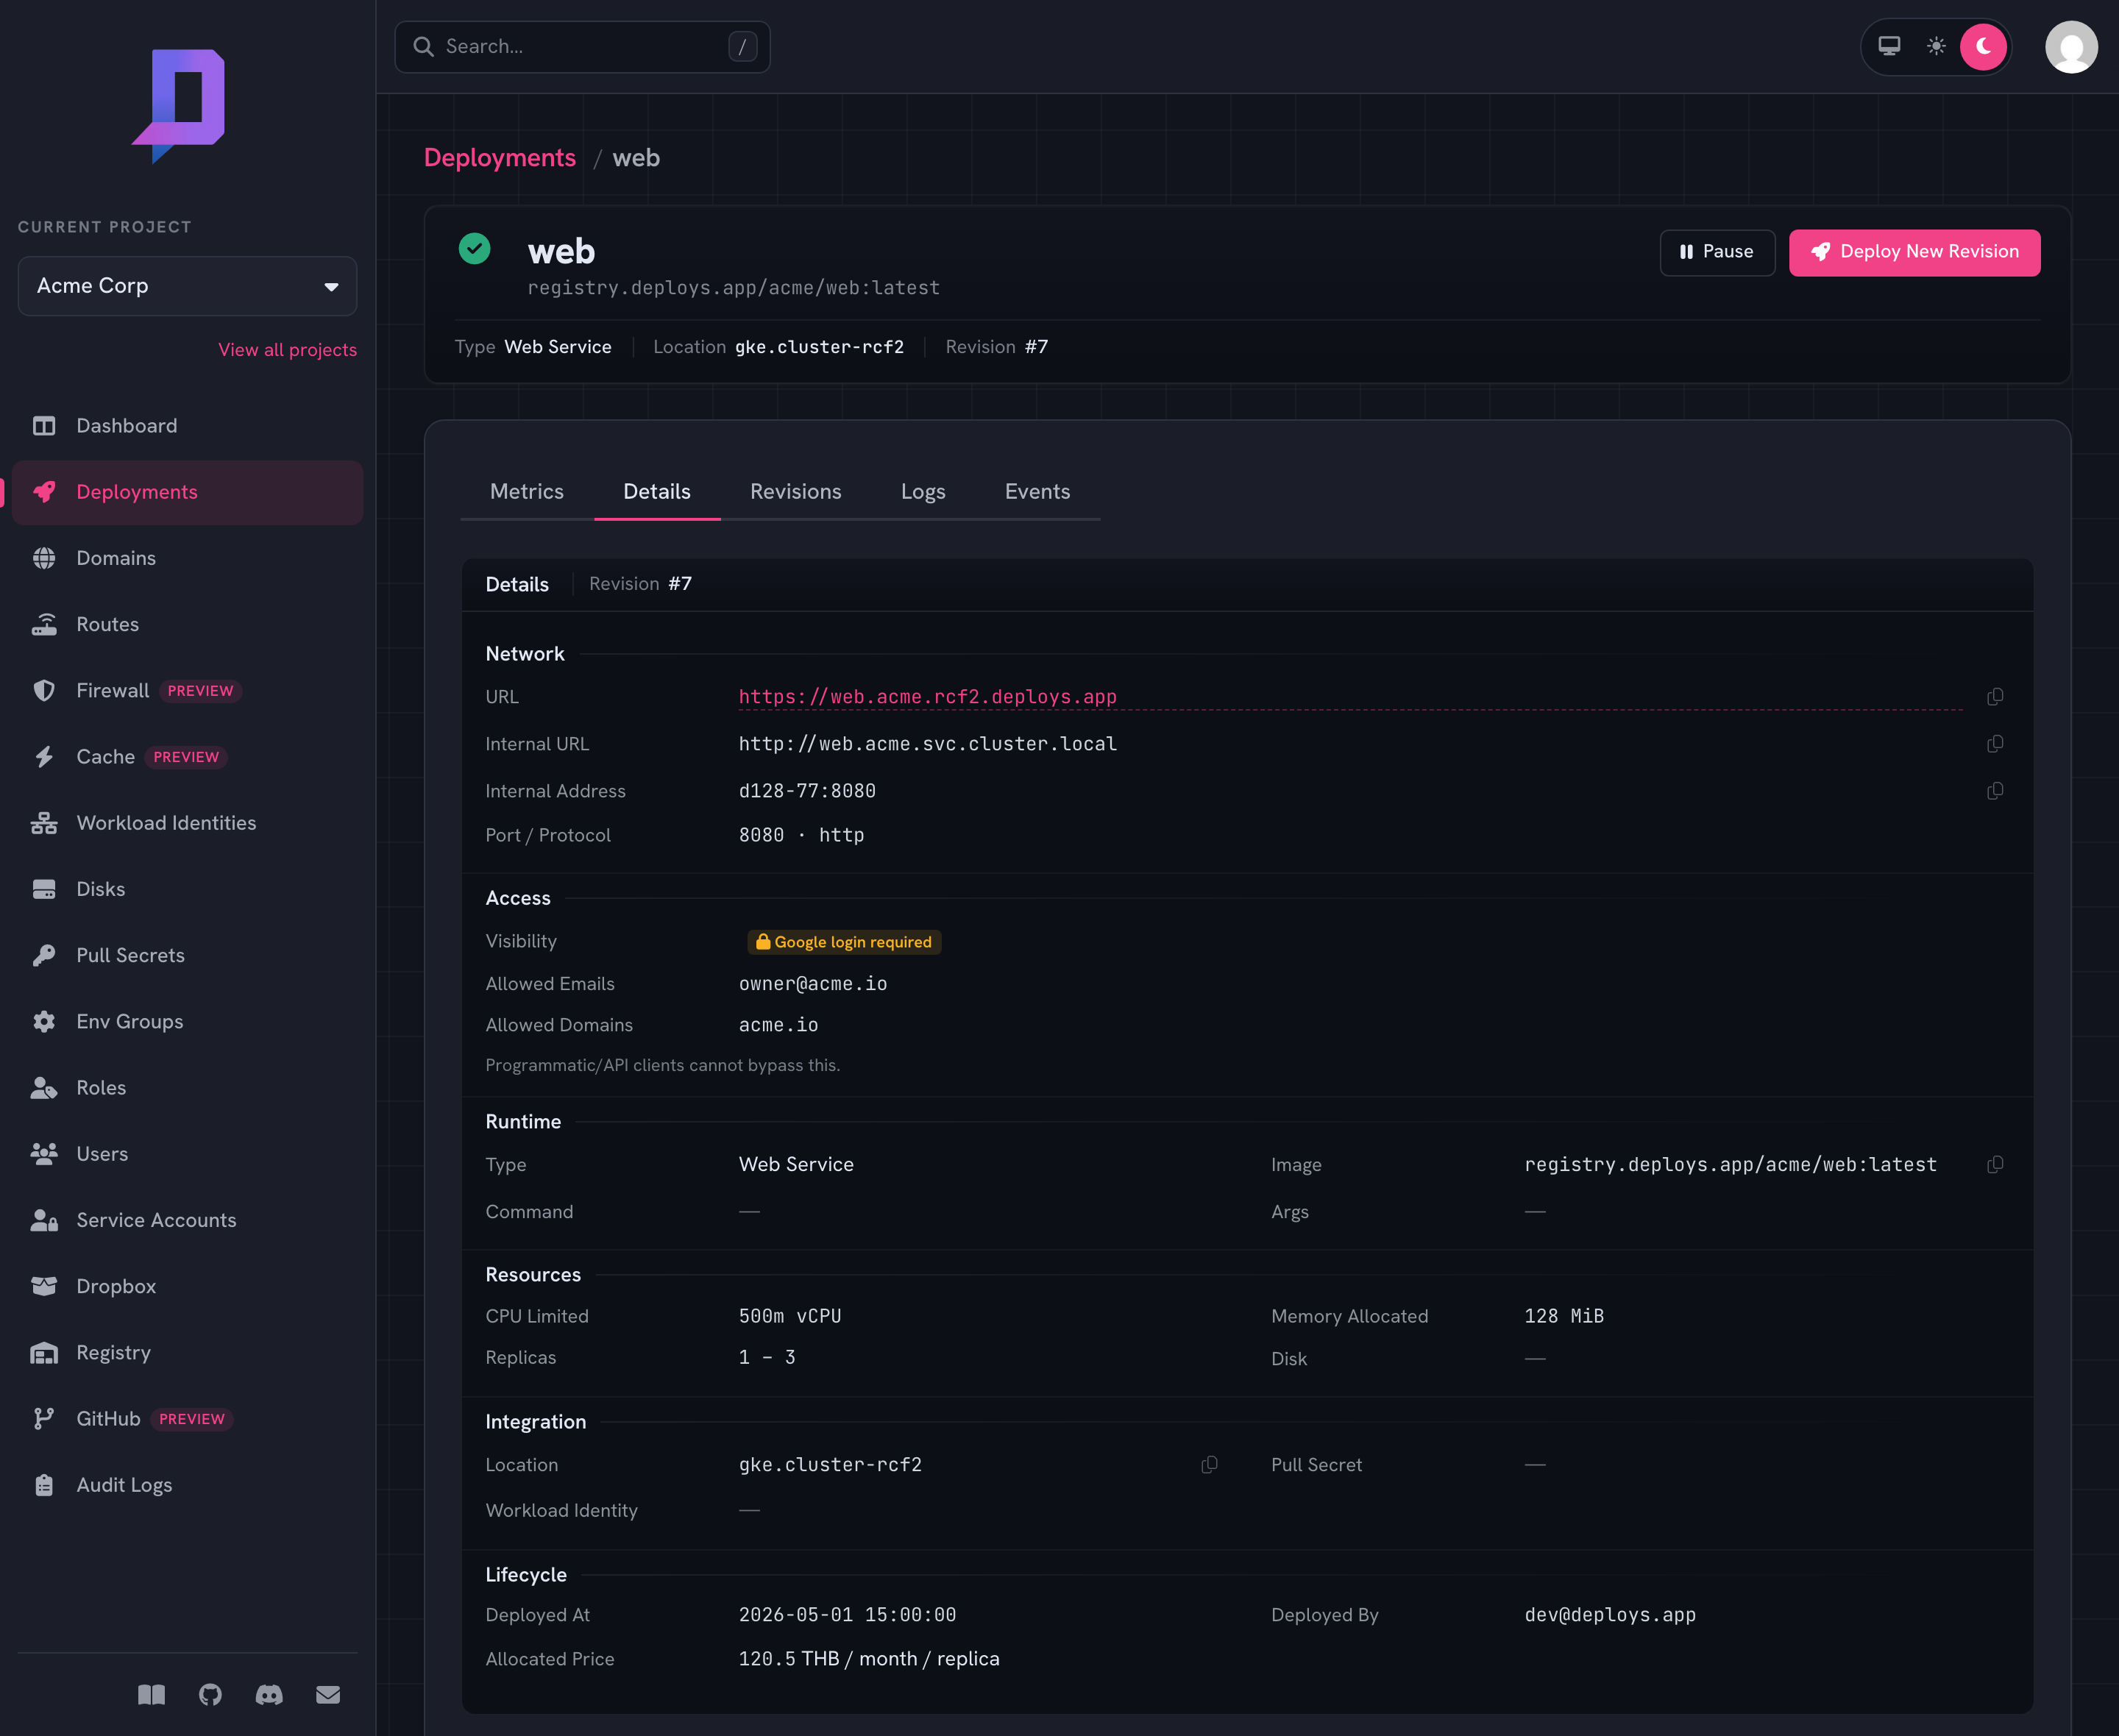
One screen for everything about a running workload.
What just happened#
Behind that single deploy, the platform:
- Pulled your image and scheduled it onto the location’s cluster.
- Assigned a managed hostname and provisioned a TLS certificate.
- Started health-checking the pods and only shifted traffic once they were ready.
- Began metering CPU, memory, and egress for billing.
- Recorded the rollout as revision 1 so you can roll back later.
Next steps#
- Add a custom domain and route traffic to your service.
- Move configuration into environment variables and env groups.
- Wire deploys into CI with the GitHub Action.
- Learn the core concepts that tie it all together.